Welcome to AITaskManager (AITM). This guide walks you through everything you need to know to get real work done with it, from your first task to reading the results.
Overview & Getting Started
New to AITM? Before your first task, walk through Setup Essentials — the short checklist of settings AITM actually needs to run.
What is AITM?
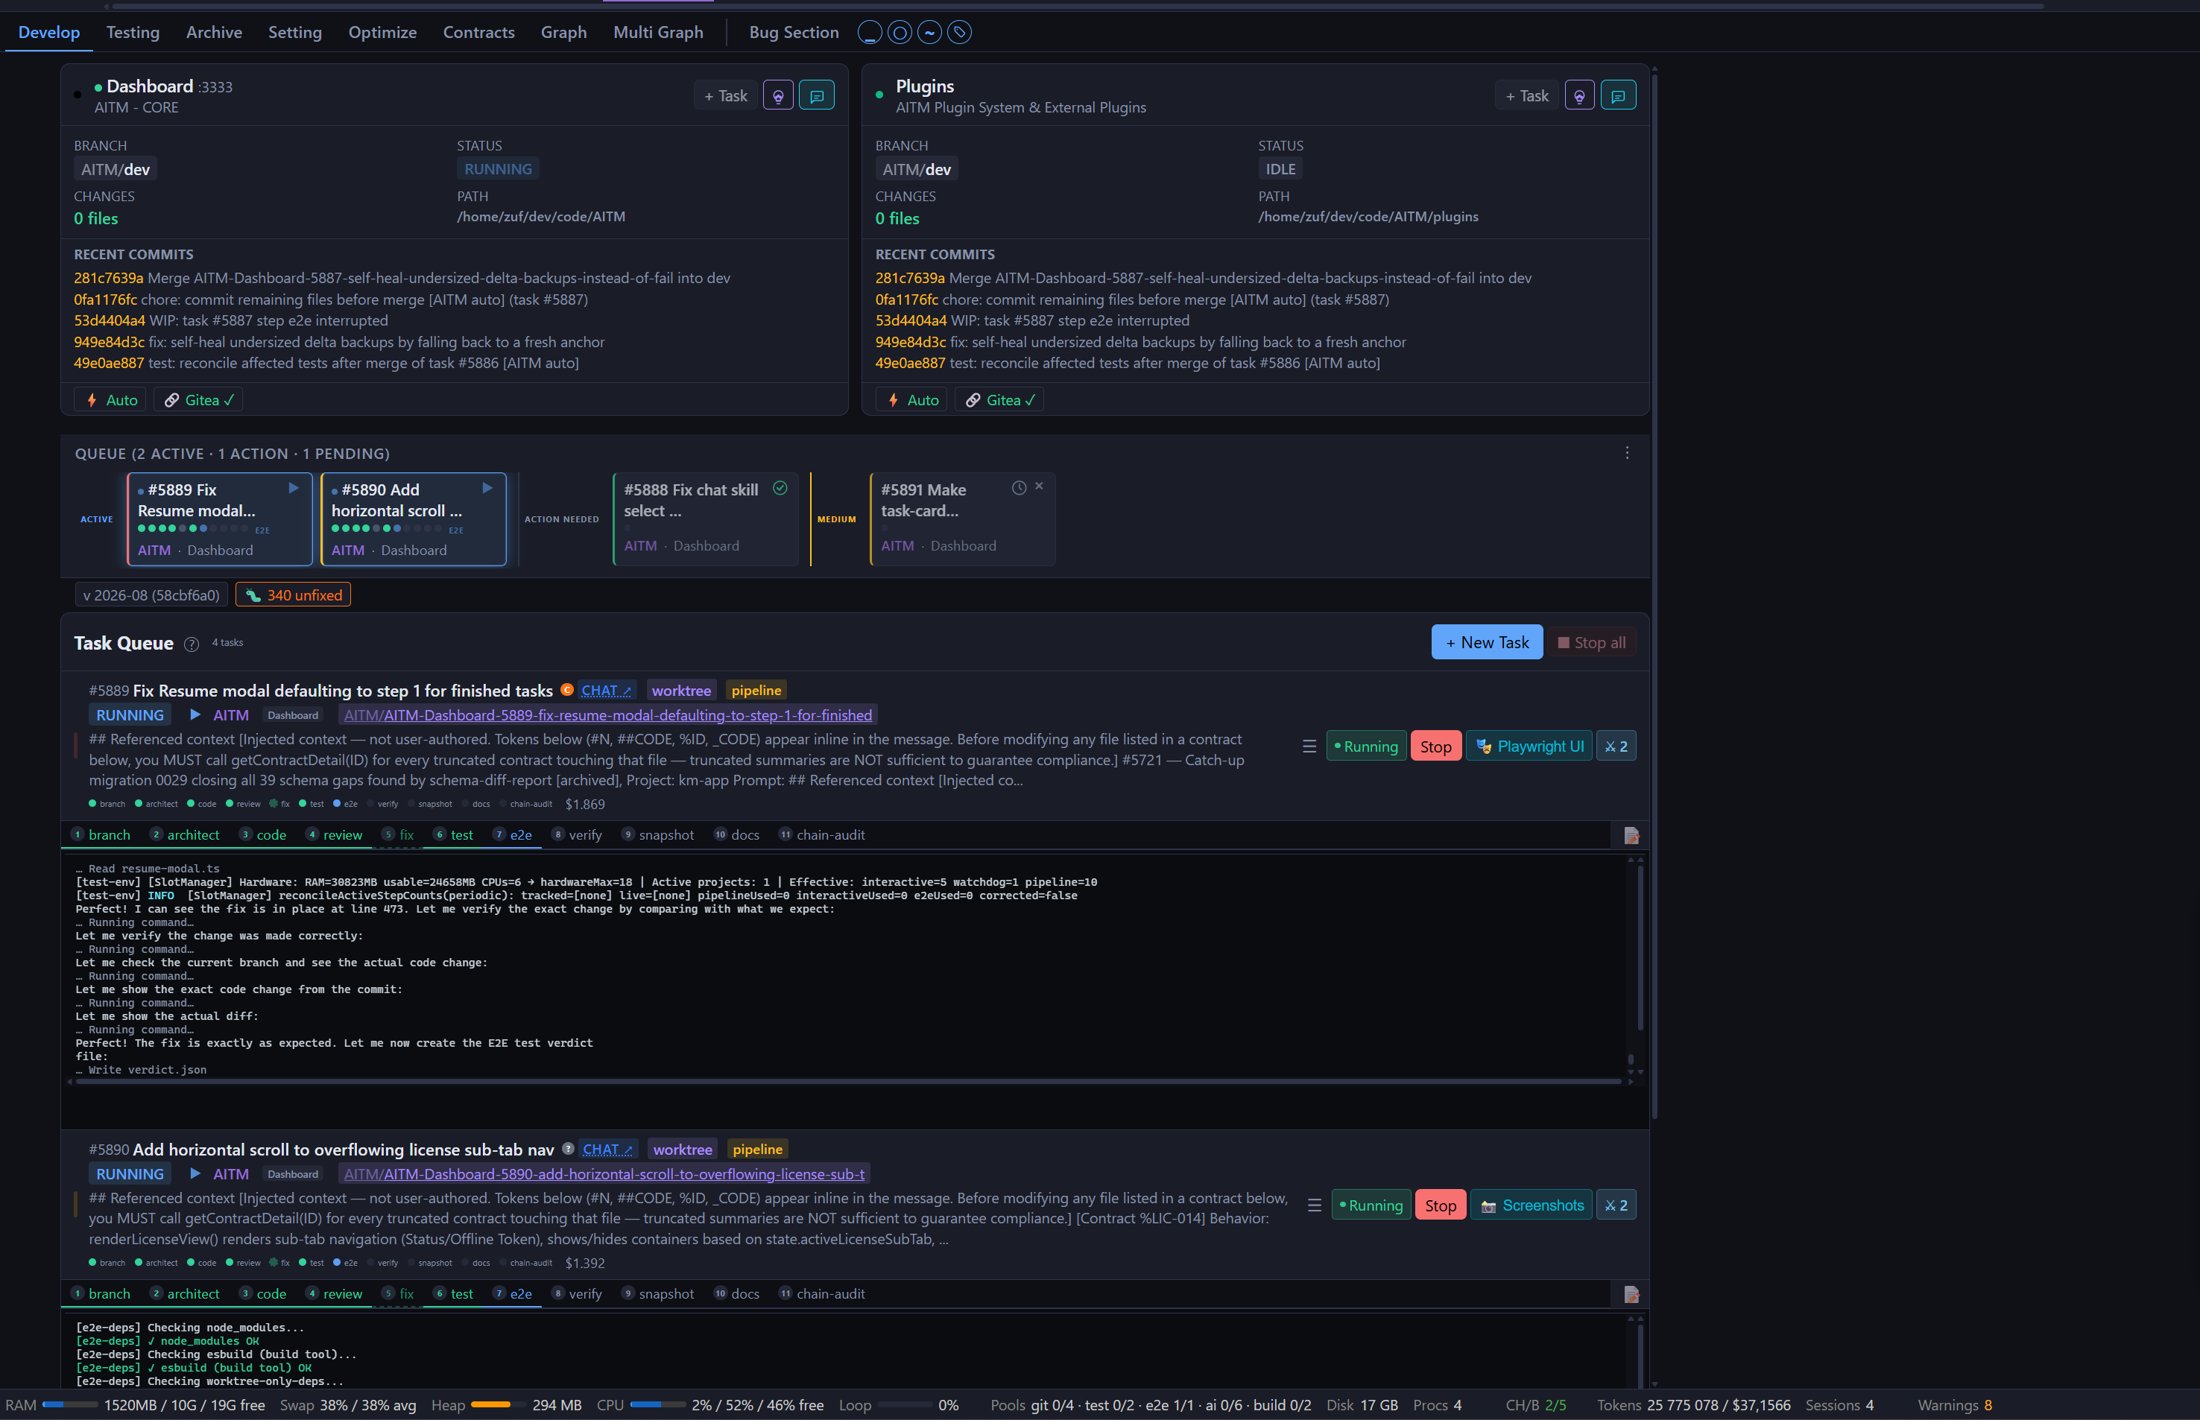
AITM is a self-hosted web app (it runs on your machine and you open it in the browser) that turns a single prompt into working, tested, reviewed code. You describe what you want in a Task, AITM runs it through a 12-step pipeline — branch, architect, code, compliance-check, review, fix, test, e2e, verify, snapshot, docs, chain-audit — and then merges the finished change into your dev branch automatically through the merge queue.
AITM vs. using Claude Code or Cursor directly
Tools like Claude Code or Cursor are excellent for one AI session at a time, driven interactively by you. AITM sits a level above them: it orchestrates those same AI coding assistants for you, automatically.
Every task runs in its own isolated git worktree, so parallel tasks never step on each other's files. Each task moves through the full pipeline without you babysitting the AI — the same AI session that writes the code also gets reviewed, fixed, and tested before anything reaches your dev branch. A watchdog detects stuck or "zombie" AI processes and automatically retries them, and finished work is auto-merged into your dev branch once it passes review and tests.
In short: Claude Code and Cursor give you an AI pair programmer. AITM gives you an AI pair programmer that queues its own work, checks its own work, and only interrupts you when something needs a human decision.
Two Ways to Get a Project In
| Entry point | Use it when |
|---|---|
| Import an existing project | You already have a working repo/folder on disk and want AITM to manage it. |
| New Project Wizard | You're starting from nothing — the wizard scaffolds a fresh project (config, CLAUDE.md, agent files, .gitignore) in 7 steps and hands you an importable project at the end. |
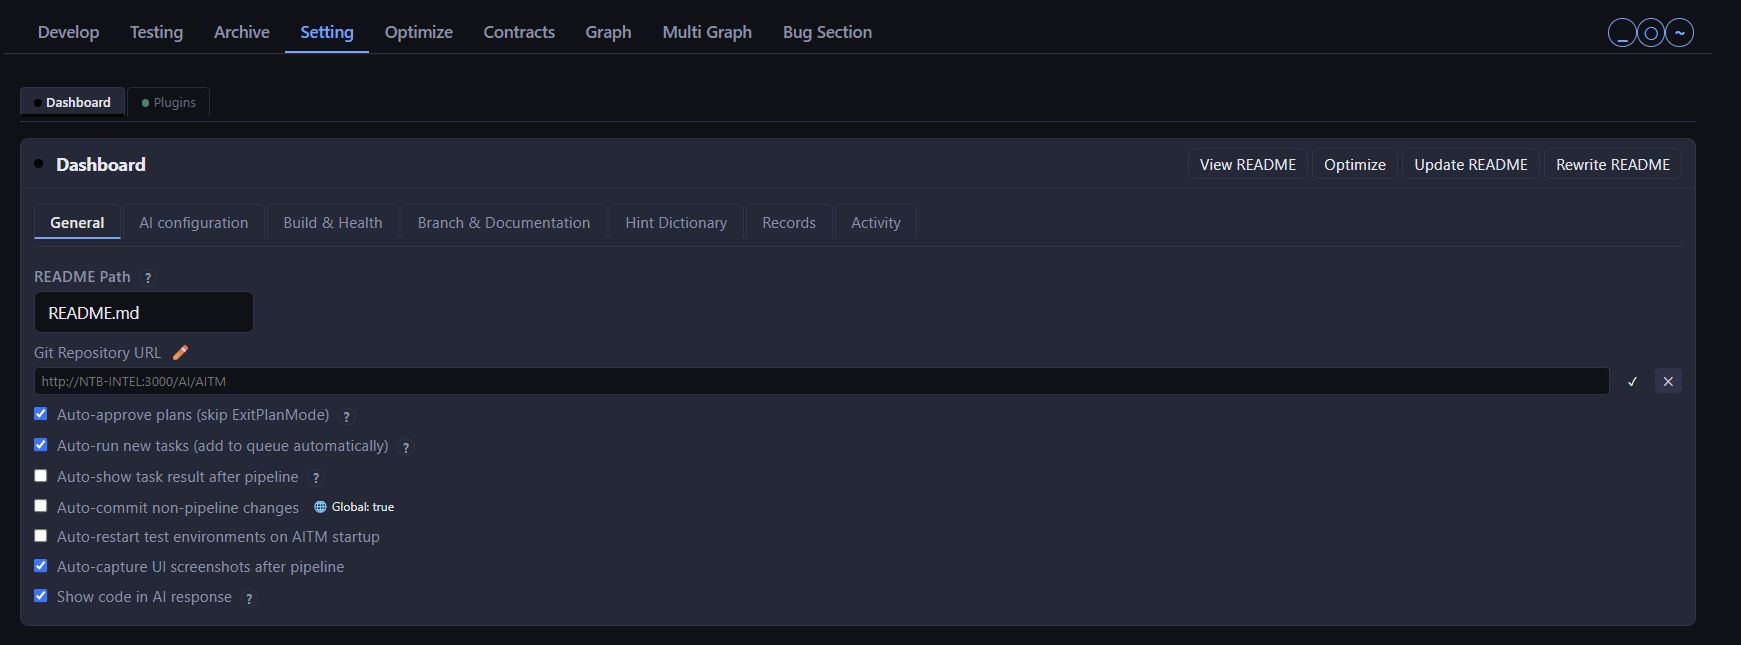
Either path ends the same way: a project AITM knows about, added in Settings (or via the wizard on first run) with a Name, Path, Tab (a dashboard grouping), a default AI Provider, and a Default branch (usually dev).
Find Your Way Around the Dashboard
Once a project is ready, everything happens from the Dev Dashboard:
- Tabs across the top group related projects (e.g. all the pieces of one product).
- Project cards show Git state, quick actions, and a + Task button.
- The queue strip shows what's pending, running, or waiting for you.
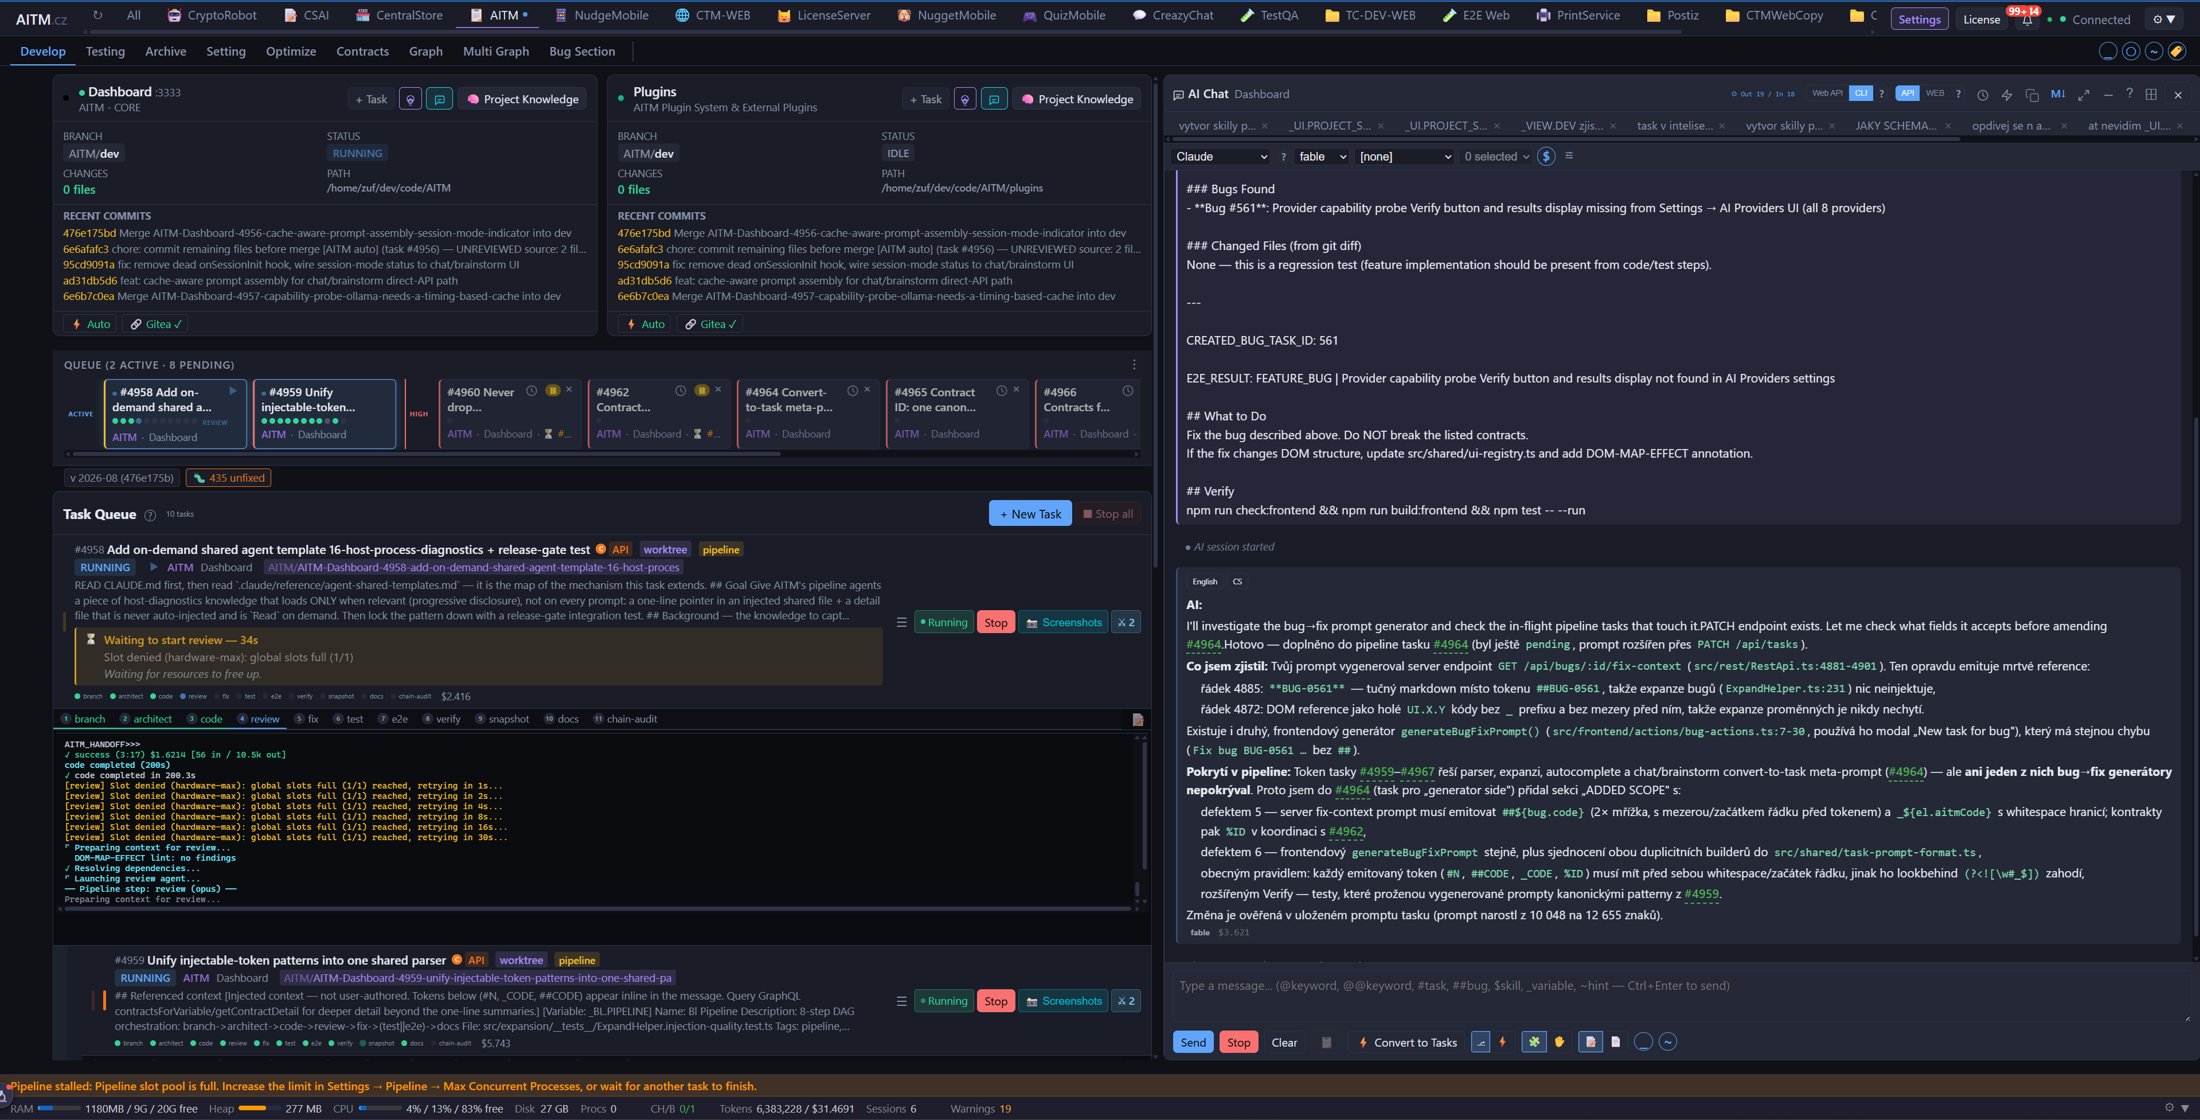
- Chat and Brainstorm buttons sit next to every project for talking to the AI without touching code.
Core concepts
| Concept | In one sentence |
|---|---|
| Project | A codebase AITM manages — imported once, then always available in the dashboard. |
| Task | A single unit of work you assign — "add a button", "fix a bug", "implement an endpoint". |
| Pipeline | The automatic multi-step process a task goes through: branch → architect → code → compliance-check → review → fix → test + e2e → verify → snapshot → docs → chain-audit; then a merge into dev through the merge queue. |
| Agent | The AI "worker" running one pipeline step (e.g. the agent that writes code, the agent that reviews it). |
| Contract | A saved fact sheet describing how part of your project behaves, so the AI doesn't have to rediscover it every time. |
Who AITM is for
AITM fits you especially well if you:
- Manage multiple projects at once, possibly in different languages/frameworks
- Want to use AI systematically and repeatably, not just as an occasional smart autocomplete
- Need visibility into what the AI is doing, with the ability to step in when needed
- Want the AI to remember your project's conventions instead of re-explaining them in every conversation
Your Getting-Started Journey
Here's the path most people take from a blank project to a merged change, with a link to the full detail for each step.
| Step | What you do | Learn more |
|---|---|---|
| 1. Import your project | Point AITM at your existing local git repository; onboarding maps the codebase automatically (see below). | — |
| 2. Create your first task | Three ways in: the New Task modal (fastest, for a task you've already thought through), Chat, or Brainstorm. In day-to-day use, most tasks start in Chat or Brainstorm — you shape the idea conversationally, then it becomes a task. | Creating a Task · Chat · Brainstorm |
| 3. Plan first, optionally | Not sure yet what you want? Discuss it in Chat or Brainstorm before committing to a task — neither ever edits your code directly. | Chat · Brainstorm |
| 4. Watch the pipeline run | Architect plans, Code implements, Review and Fix loop until it's clean, then Test and E2E run in parallel before merge. | The Pipeline |
| 5. Skills & Variables guide the AI | Reusable convention cards (Skills) and named references to parts of your app (Variables) keep every step consistent with your project. | Skills · Variable Explorer |
| 6. Pipeline task vs. Agent task | A pipeline task runs the full 12-step reviewed/tested workflow; an agent task runs the same AI autonomously without the structured review/test gates, for quick self-directed work. Chat and Brainstorm let you pick either when converting a conversation into a task. | The Pipeline |
| 7. Automated testing | Unit tests and end-to-end browser tests run automatically as part of the pipeline, in parallel, against an isolated instance of your app. | Testing |
| 8. Running tasks in parallel | Multiple tasks can run at once, capped by Settings → Pipeline → Max concurrently running tasks according to your machine's CPU and memory (license slots are projects, not concurrency). | Settings |
| 9. If something fails | The watchdog retries a stuck step automatically first. If it still fails, resume the task from the failed step rather than starting over — or open Chat to discuss the failure with the AI before deciding how to proceed. | Reading Results & Archive |
Chat is for quick, contract-aware Q&A and small planning in one ongoing conversation; Brainstorm is for open-ended exploration before you commit to a task. Neither ever edits your code directly — both only ever produce a task, which then runs the real pipeline.
Running Fast Without E2E
E2E is the slowest pipeline step — it builds and boots the app, then drives it through a real browser. While iterating, keep the pipeline's reliability setting below the E2E threshold to skip it (and, at the lowest tier, unit tests too) for faster small tasks. Once a batch of related changes has landed, create one separate integration task with reliability turned up to run the full E2E regression against them.
Importing a project
Before AITM can manage a project, it needs to "get to know" it. Adding a project triggers an automatic, non-destructive, and free (no AI cost) static pre-scan: stack & language detection, a code map of file dependencies, UI element extraction for frontends, variable discovery, and documentation linking. You can safely re-run this pre-scan any time.
First run
When you open AITM for the first time, add a project (point it at a local git repository), then click New Task to describe your first change. AITM creates a branch, spins up an isolated worktree, and starts the pipeline. You can watch progress live on the dashboard, and you'll find the finished result waiting for you once the pipeline completes.
Tips
- Start with a small, well-scoped task the first time — it's the fastest way to see the whole pipeline in action.
- Keep
useWorktreeandautoMergeDevenabled unless you have a specific reason not to — they're what make parallel, unattended work safe. - The dashboard's colored step dots (green = passed, orange = running, purple = pending) tell you at a glance where every task stands.
- Onboarding's static pre-scan is non-destructive and free to re-run — use it any time a project's structure has changed significantly.